In this post I’ll demonstrate the importance of flat frames in astrophotography, and show how I capture flat frames using my Celestron RASA 11″ telescope and an LED tracing panel.
But first…
What is a “flat frame”?
A flat frame is an image of an evenly illuminated light source that captures the vignetting of your imaging train, which can then be used in the calibration process to correct the vignetting and gradients caused by your particular setup.
Flat frames can be captured by imaging an evenly illuminated light source, such as the sky at dusk or an LED panel. Along with vignetting, flat frames tend to reveal any dust motes that may have settled on or near the sensor or filters (although with the fast speed of the RASA, dust motes don’t tend to cause issues). The main focus of this post is to illustrate the use of flat frames to correct vignetting.
By using these flat frames as part of the calibration process in your image processing software (such as PixInsight), the vignetting of your astro images can be corrected (based on the vignetting pattern in the flat frames) and any dust motes virtually eliminated.
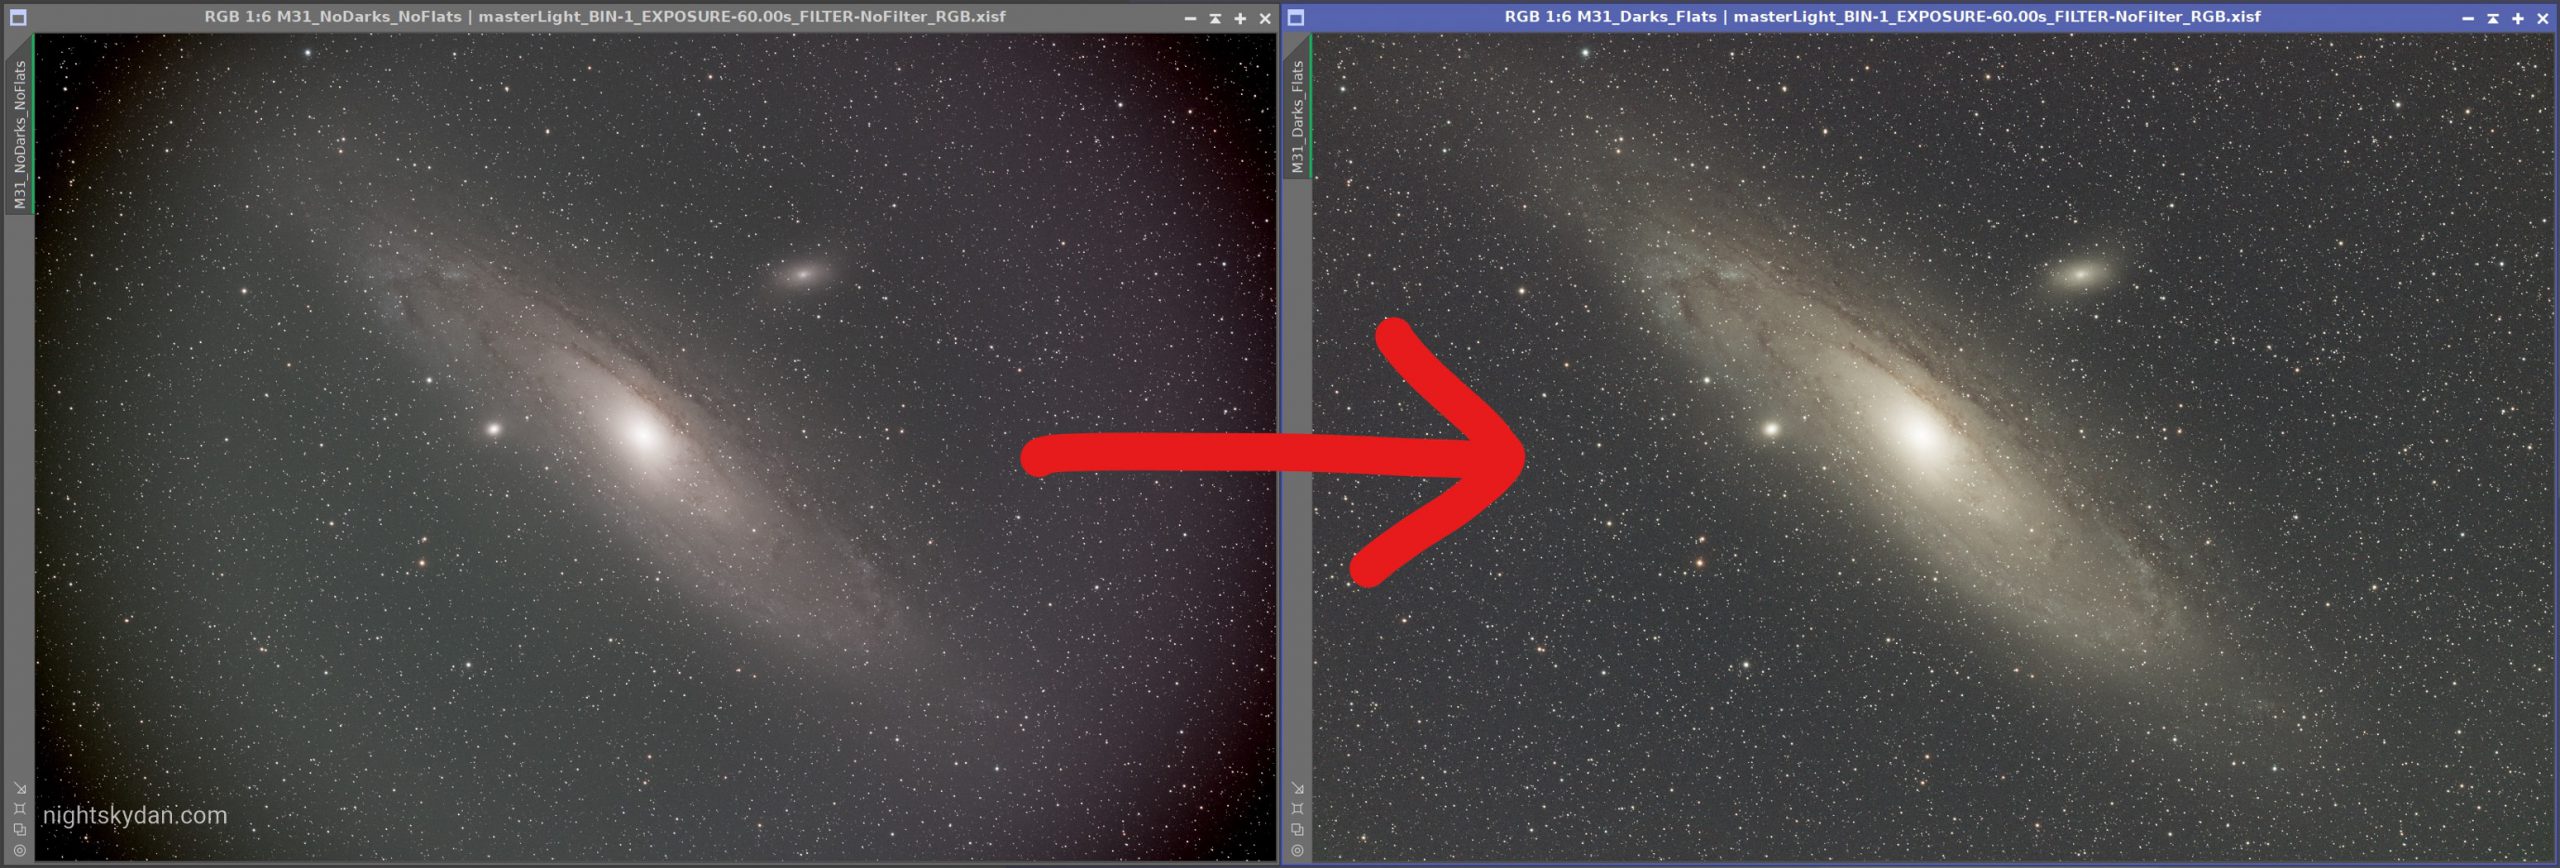
If we look at the comparison below, the use of flat frames during the image calibration stage can help make the vignetted image on the left look like the image on the right (move the slider left and right to see the full difference):

A comparison of the “no flats calibration” image (left) and the “flats calibration” image (right). No other processing has been done to these images – these results are straight after being stacked in PixInsight then auto-stretched
Flat frames should normally be captured at the start or end of each imaging session, especially if you remove and reattach your camera between each imaging session, otherwise the vignetting may vary the next time you reattach the camera. If you use filters, you also need to capture flat frames for each filter, prior to changing them (especially important if any existing dust motes shift around or more dust motes are introduced).
Different ways of capturing flat frames
I’ve experimented with various ways of capturing flats in the past, including:
- Sky flats / t-shirt flats, where the telescope is pointed up at the sky at dusk, and placing a white t-shirt over the end of the dew shield to diffuse the light
- Pointing the telescope at an illuminated white wall
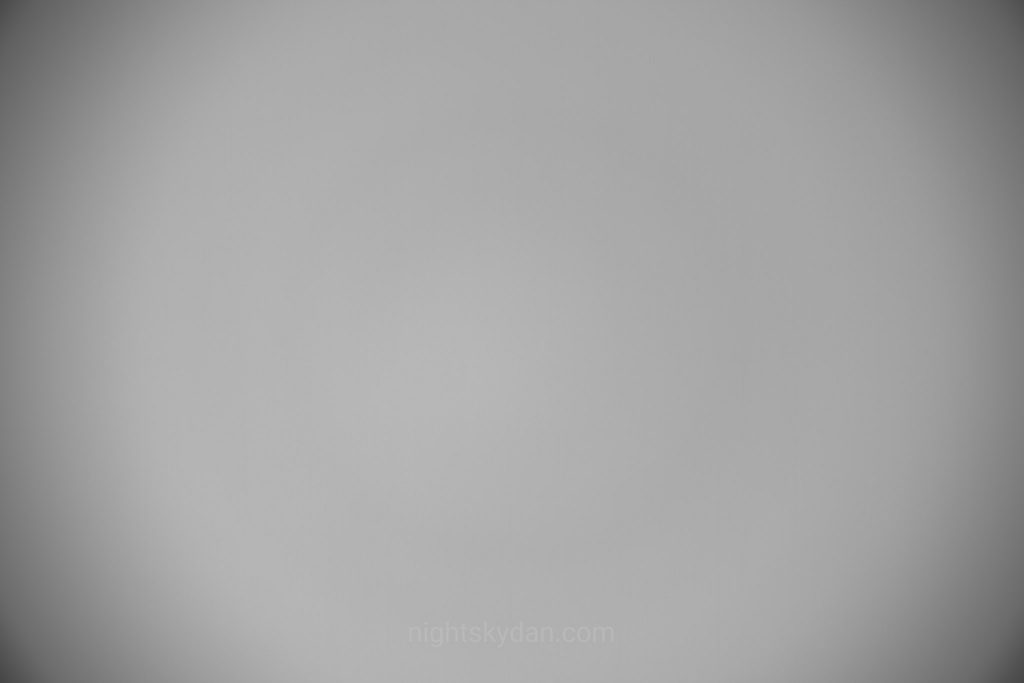
- Using an LED tracing panel placed on top of the telescope dew shield while pointing up towards the zenith
The method I found that consistently works well for me is the LED tracing panel, as the brightness is evenly spread, consistent between frames, and the environment is more controllable.
How I capture flat frames
The LED tracing panel I use is a “Huion A2 26.77 inches” panel, and I purchased it back in 2019 for around $90 on Amazon.
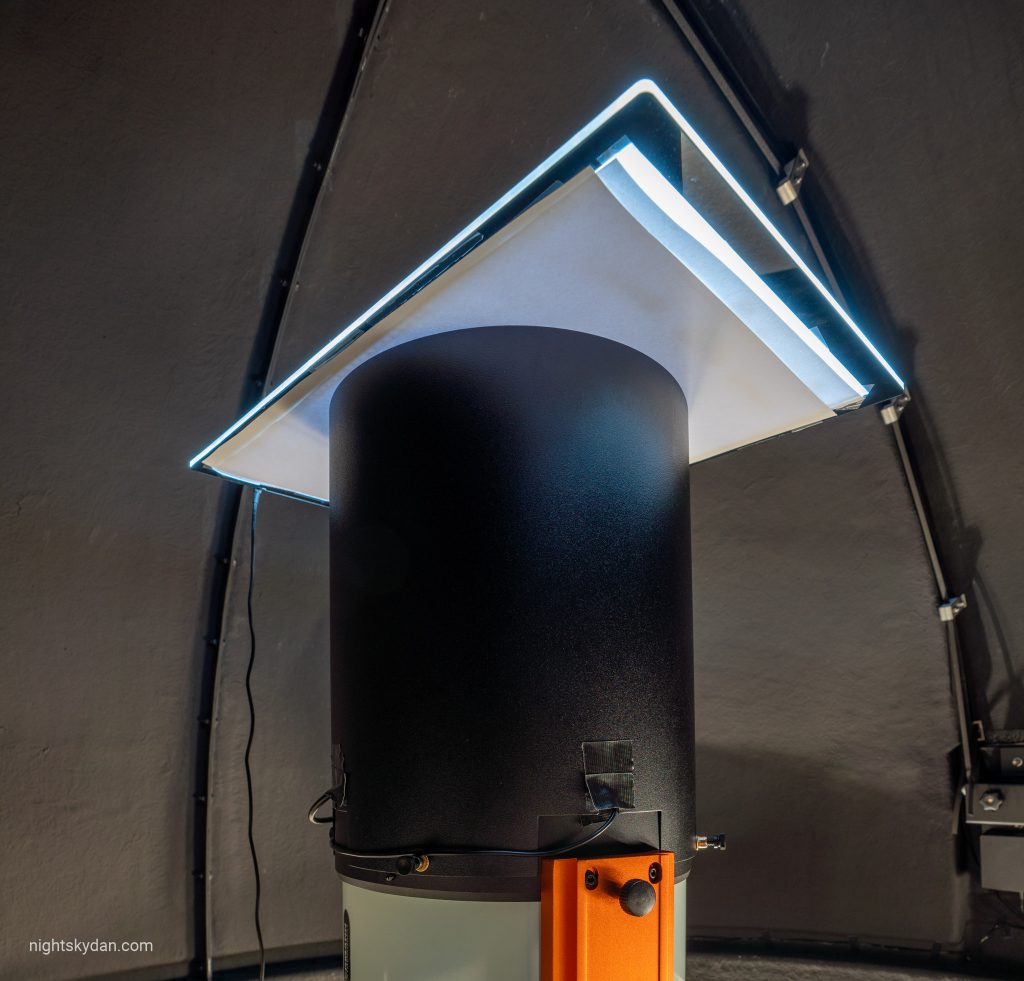
I’ve added two sheets of thin white card to further diffuse and reduce the brightness of the panel, as the RASA 11″ is incredibly fast (at f/2.2).
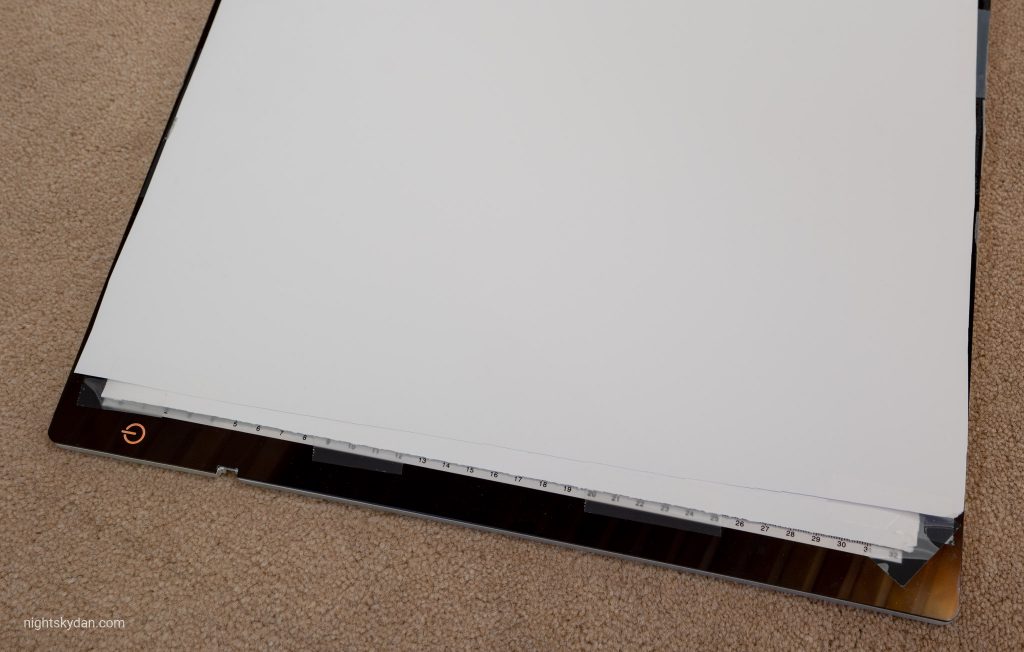
I start off by pointing the telescope up towards the zenith (straight up), and park the mount. Then I place the LED tracing panel on top of the dew shield (I use an aluminium dew shield made by Astrozap, so it’s nice and sturdy), and power up the LED panel. It’s powered by a 12v adapter, and the touch-based power button can be tapped briefly to turn it on/off, or a long press to control the brightness (either up or down, each time it’s long-pressed). I generally have mine set to the lowest brightness level, as I want to make sure the exposures aren’t so short they introduce banding in the images.
I then use the Flats Calibration Wizard in Sequence Generator Pro to automatically calculate what exposure length I need for capturing flat frames at a specific brightness. For anyone unfamiliar with this wizard, it’s a useful tool for capturing a series of flat images with varying exposure lengths, with Sequence Generator Pro decreasing the exposure duration until it produces an image that closely matches a specified target mean brightness level. I found 50,000 ADU flat frames work well with the RASA 11″ and full-frame ASI6200MC Pro camera, so I tend to aim for a mean brightness around that number.
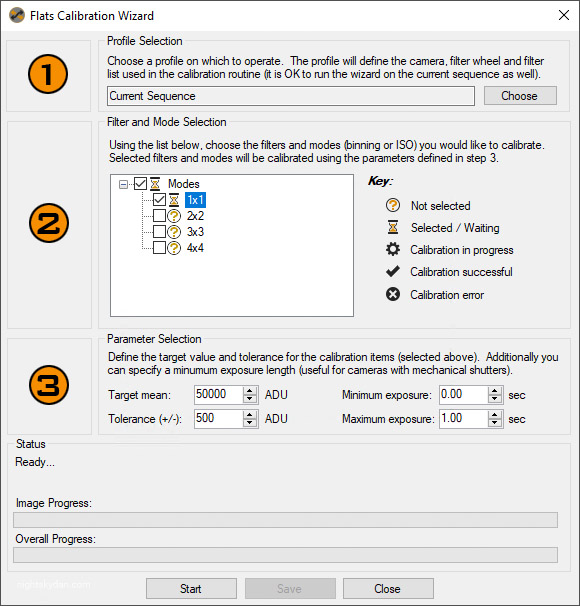
With the LED panel set to its lowest brightness setting, the exposure to reach a target brightness of 50,000 ADU is normally 0.3 seconds. I tend to capture a total of 40 flat frames, which are then stacked in PixInsight to produce one master flat frame based on the averages of the 40 flat frames.
Showing why flat frames are important
To demonstrate why flat frames are needed and also show how I include them in my image calibration process, I’m going to perform four tests:
- Test #1 will use no darks and no flats, to illustrate what happens if I don’t perform any calibration
- Test #2 will use no darks, but will incorporate flats in the calibration process
- Test #3 will use darks, but will use no flats in the calibration process
- Test #4 will use darks and flats in the calibration process
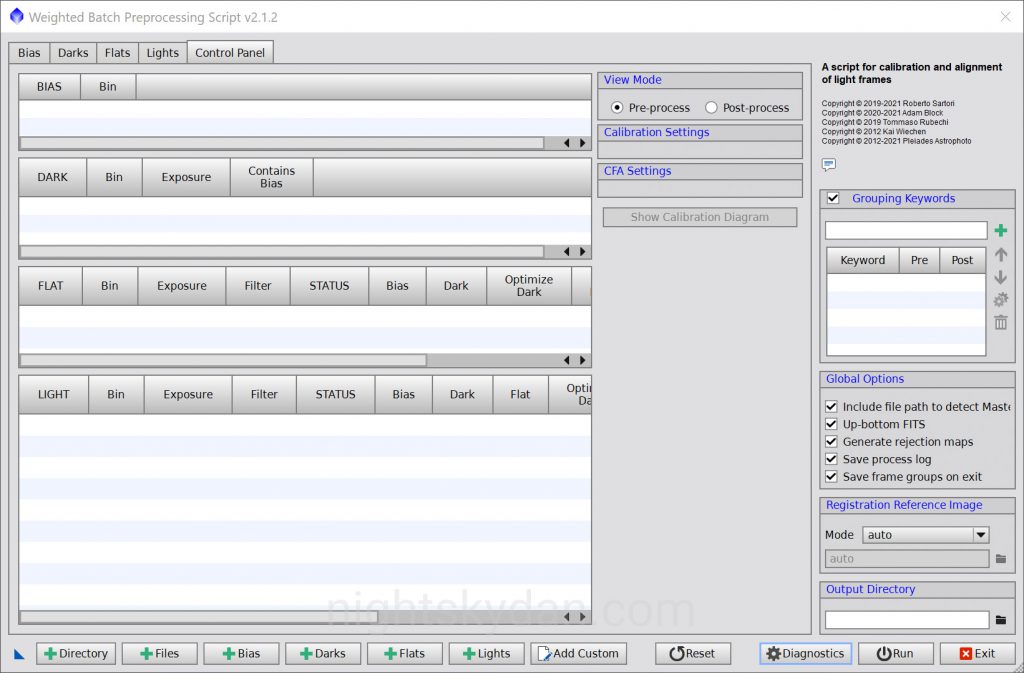
I use PixInsight for all of my astro image processing, so the tests will be performed using the Weighted Batch Preprocessing Script in PixInsight, which provides a quick and relatively straightforward way to calibrate and align light frames:
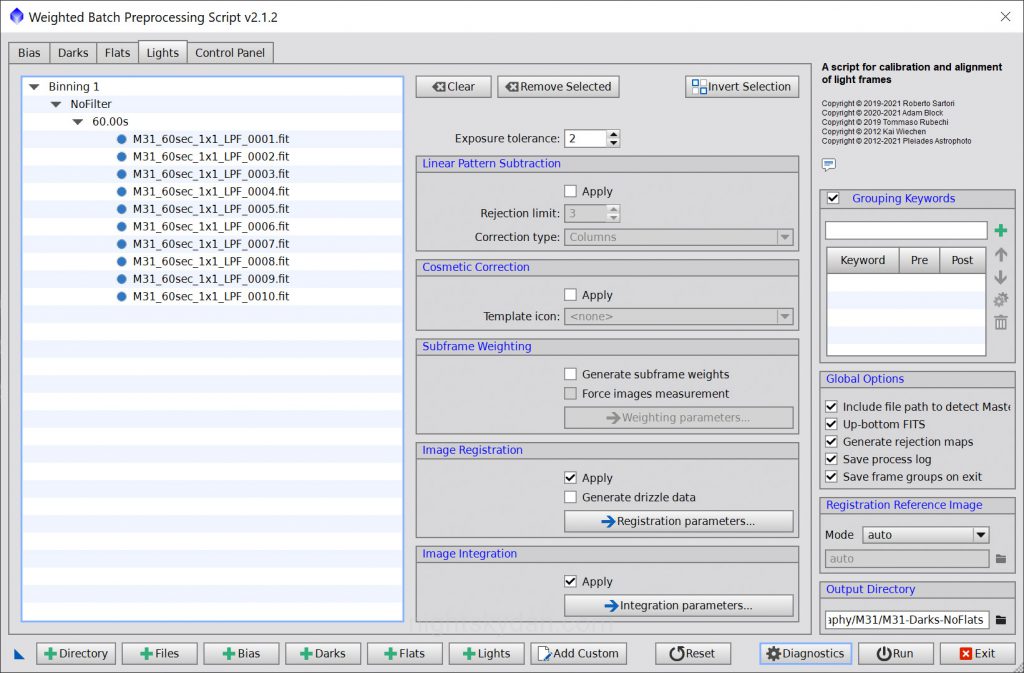
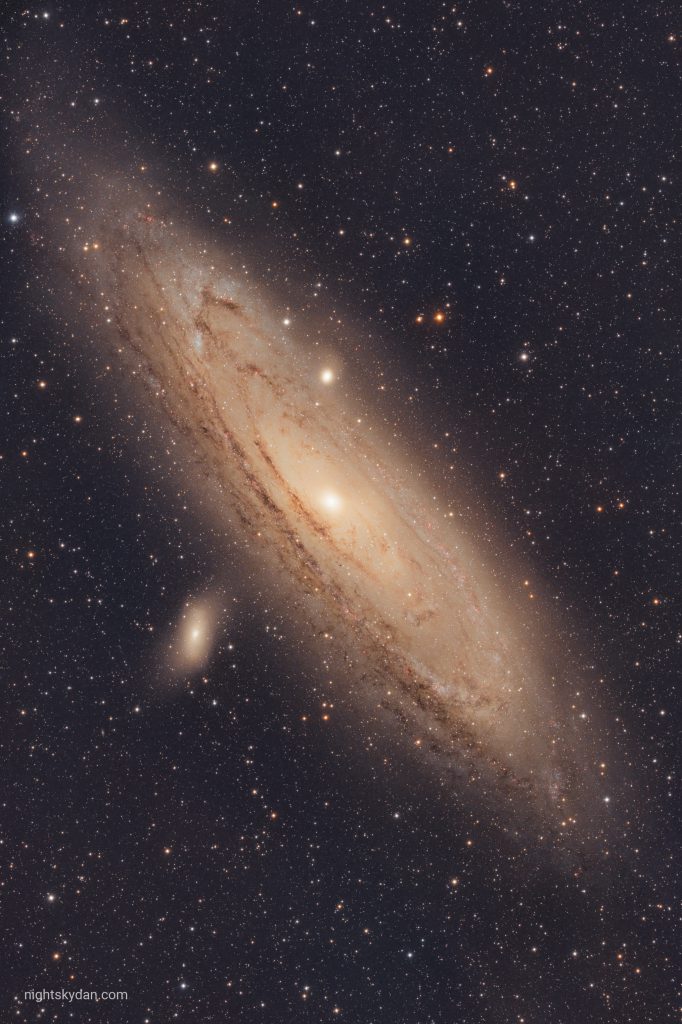
I will use 10 light frames (10 x 60-seconds) from a recent capture of the Andromeda Galaxy in each of the tests, plus a master dark file I generated previously.
I won’t demonstrate any further processing of the images in these tests – I’ll simply show what each of the calibrated images looks like with an auto-stretch.
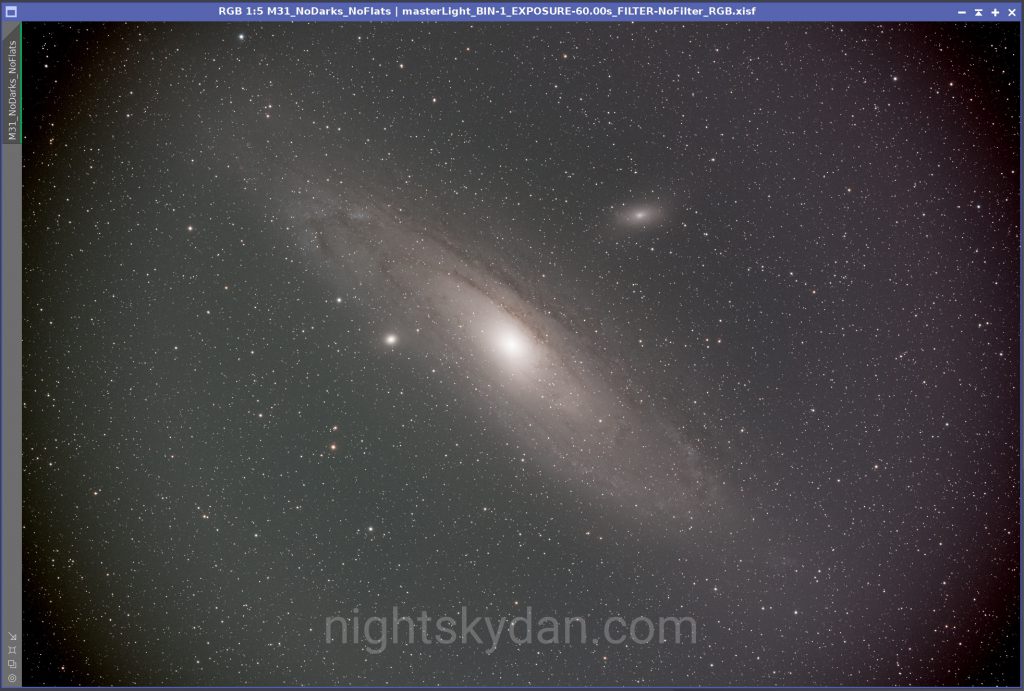
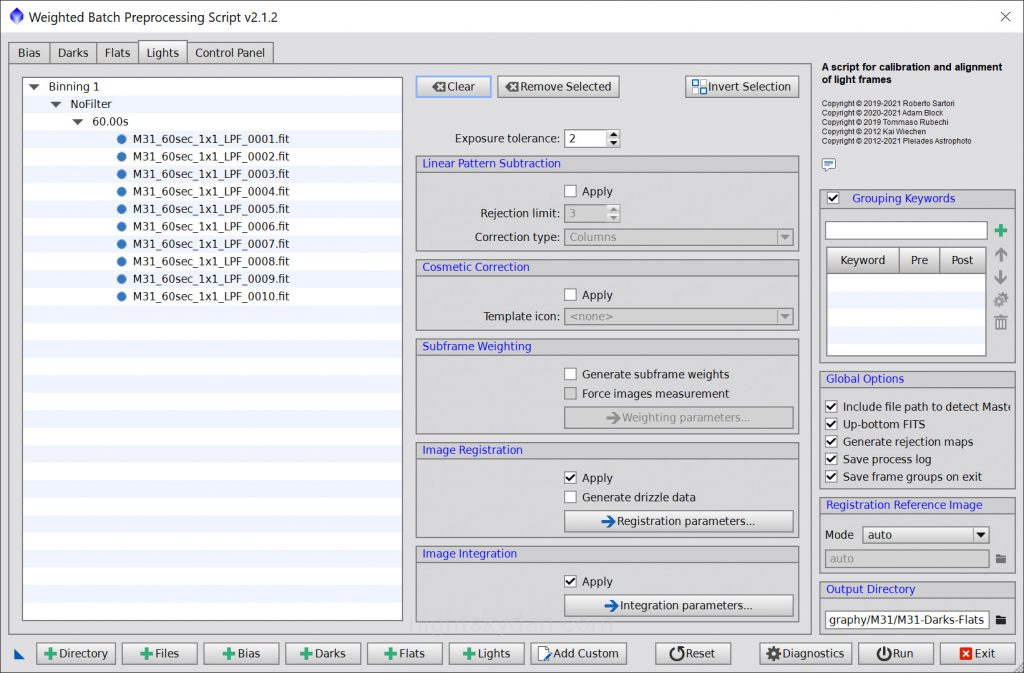
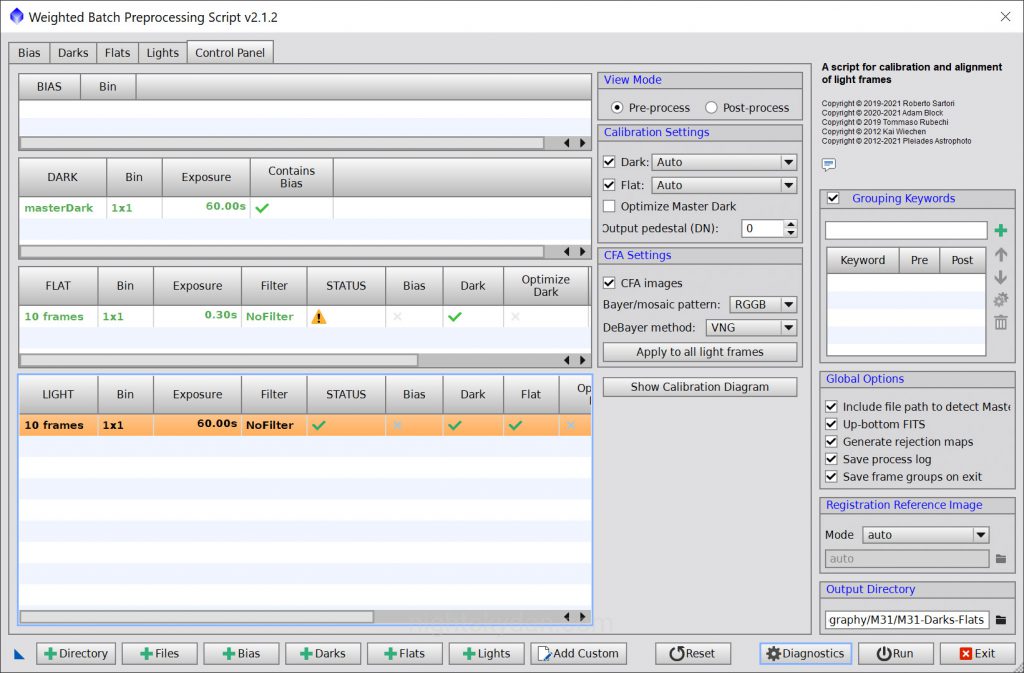
Test #1 – No Darks, and No Flats
For this very first test, I will use no darks and no flats, so simply stacking the 10 light frames. You can see the settings I used by scrolling through the screenshots below.

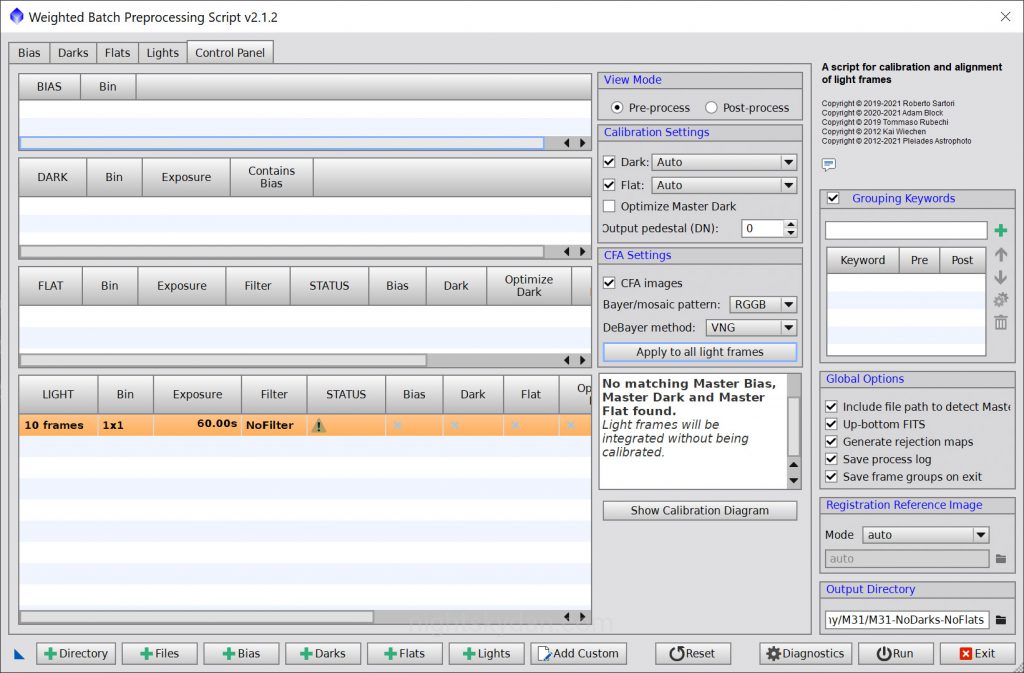
After running the Weighted Batch Preprocessing Script, the following image is produced. After an auto-stretch to reveal the details, we can see the heavy vignetting visible.
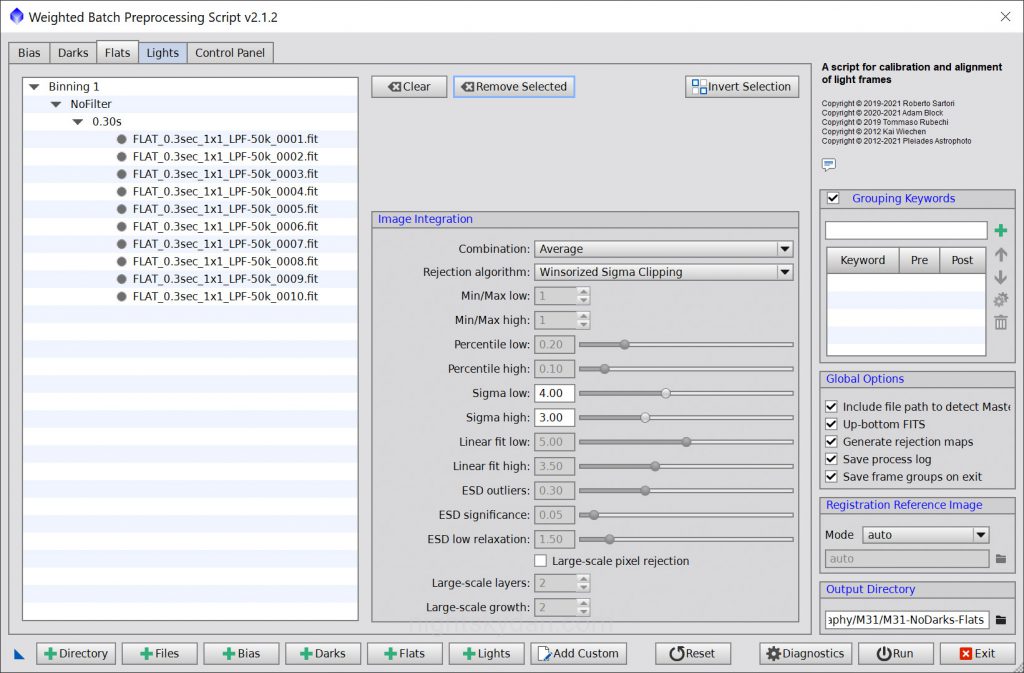
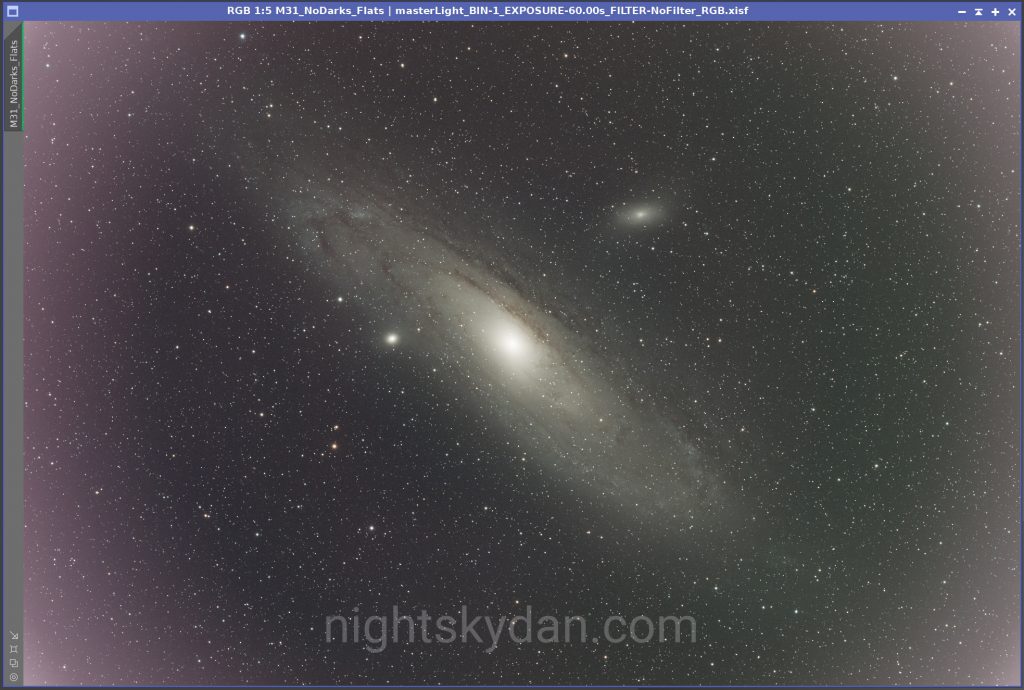
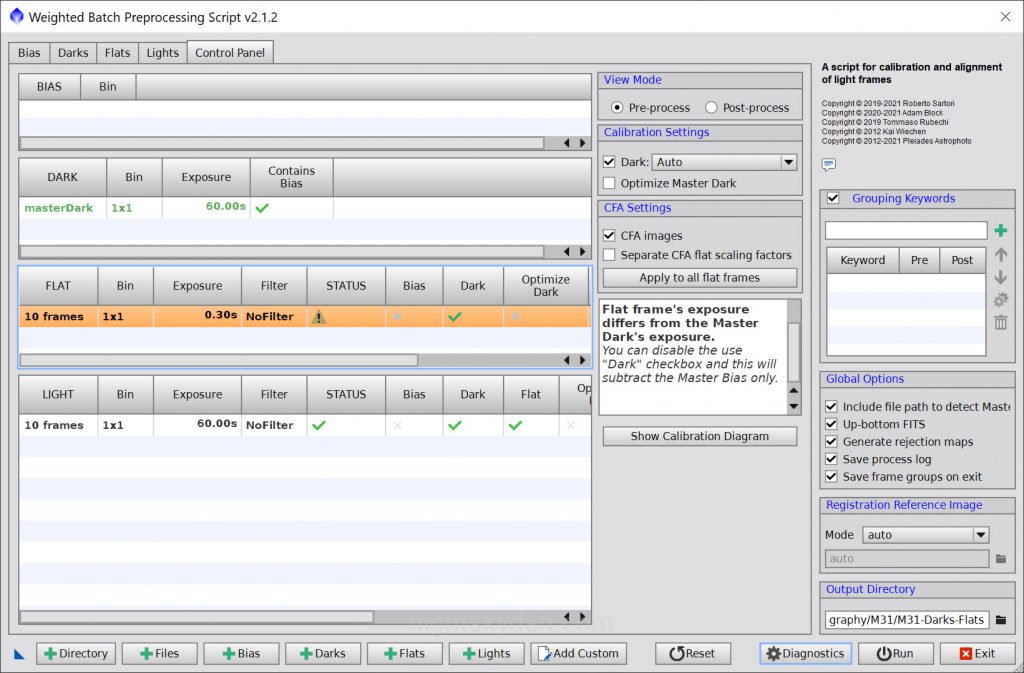
Test #2 – No Darks, but with Flats
For the second test, I will use no darks but will use flats, so PixInsight will stack the 10 light frames and calibrate them using the flat frames. You can see the settings I used by scrolling through the screenshots below.


I originally expected the flat frames in this test to result in a properly calibrated image, but by not using dark frames we can see the corners are not good – rather than darkened, the corners are now much lighter. So this shows why dark frames are also important to use in the calibration process!
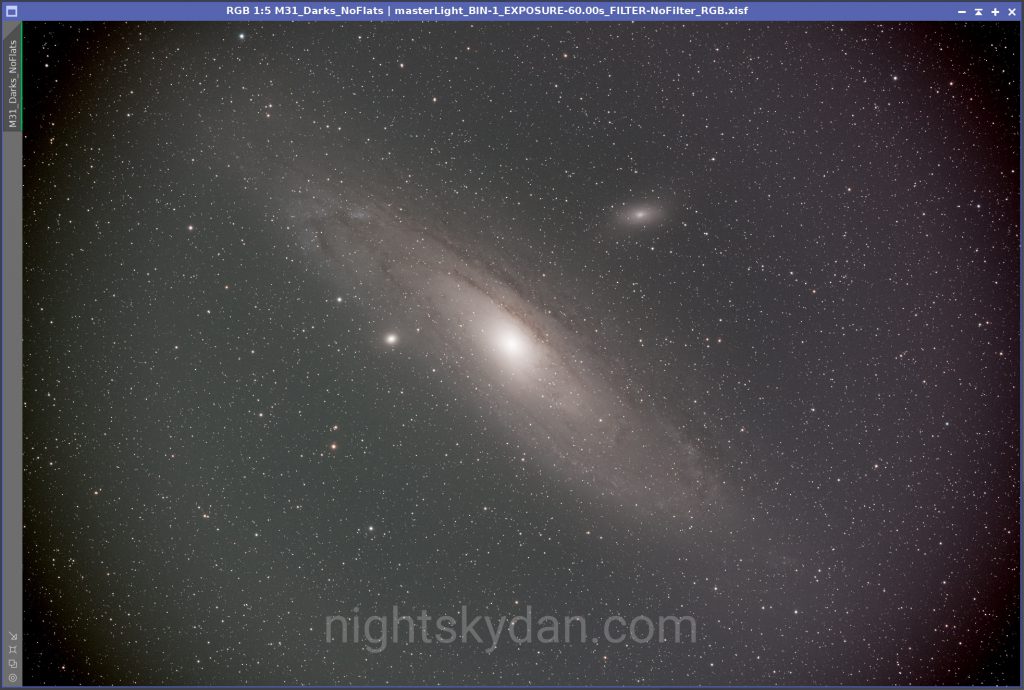
Test #3 – Darks, but No Flats
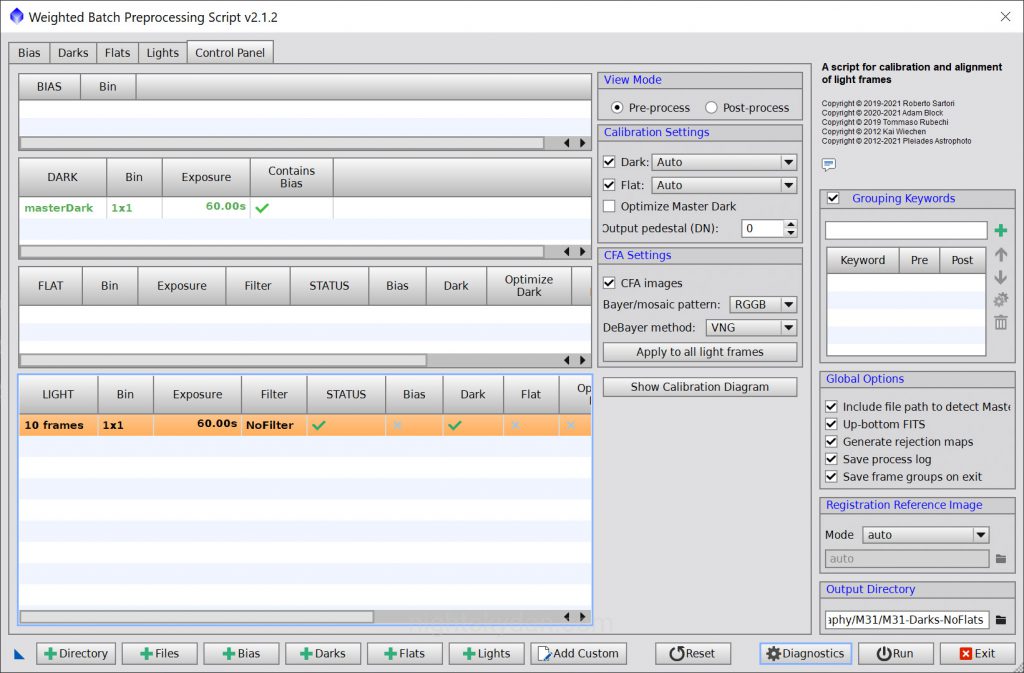
For the third test, I will use darks but no flats, so PixInsight will stack the 10 light frames and calibrate them using the master dark. I’m not expecting this to look much different than test #1, but I just wanted to include this particular test anyway. You can see the settings I used by scrolling through the screenshots below.
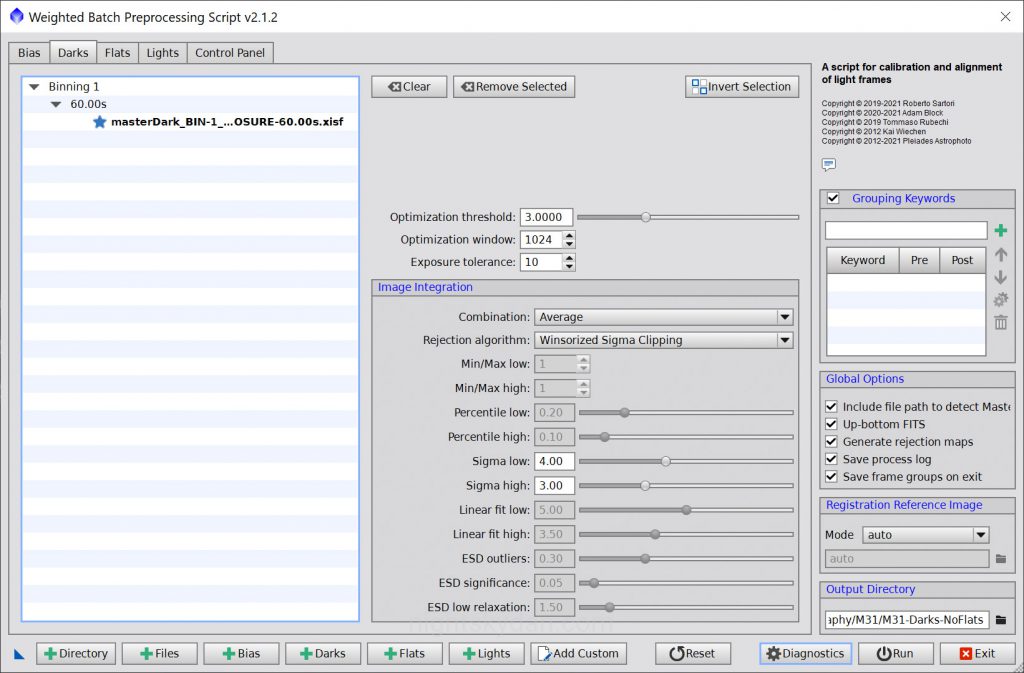
As I expected, the resulting image from this test looks the same as test #1, just with less noise (as darks were used in the calibration process):
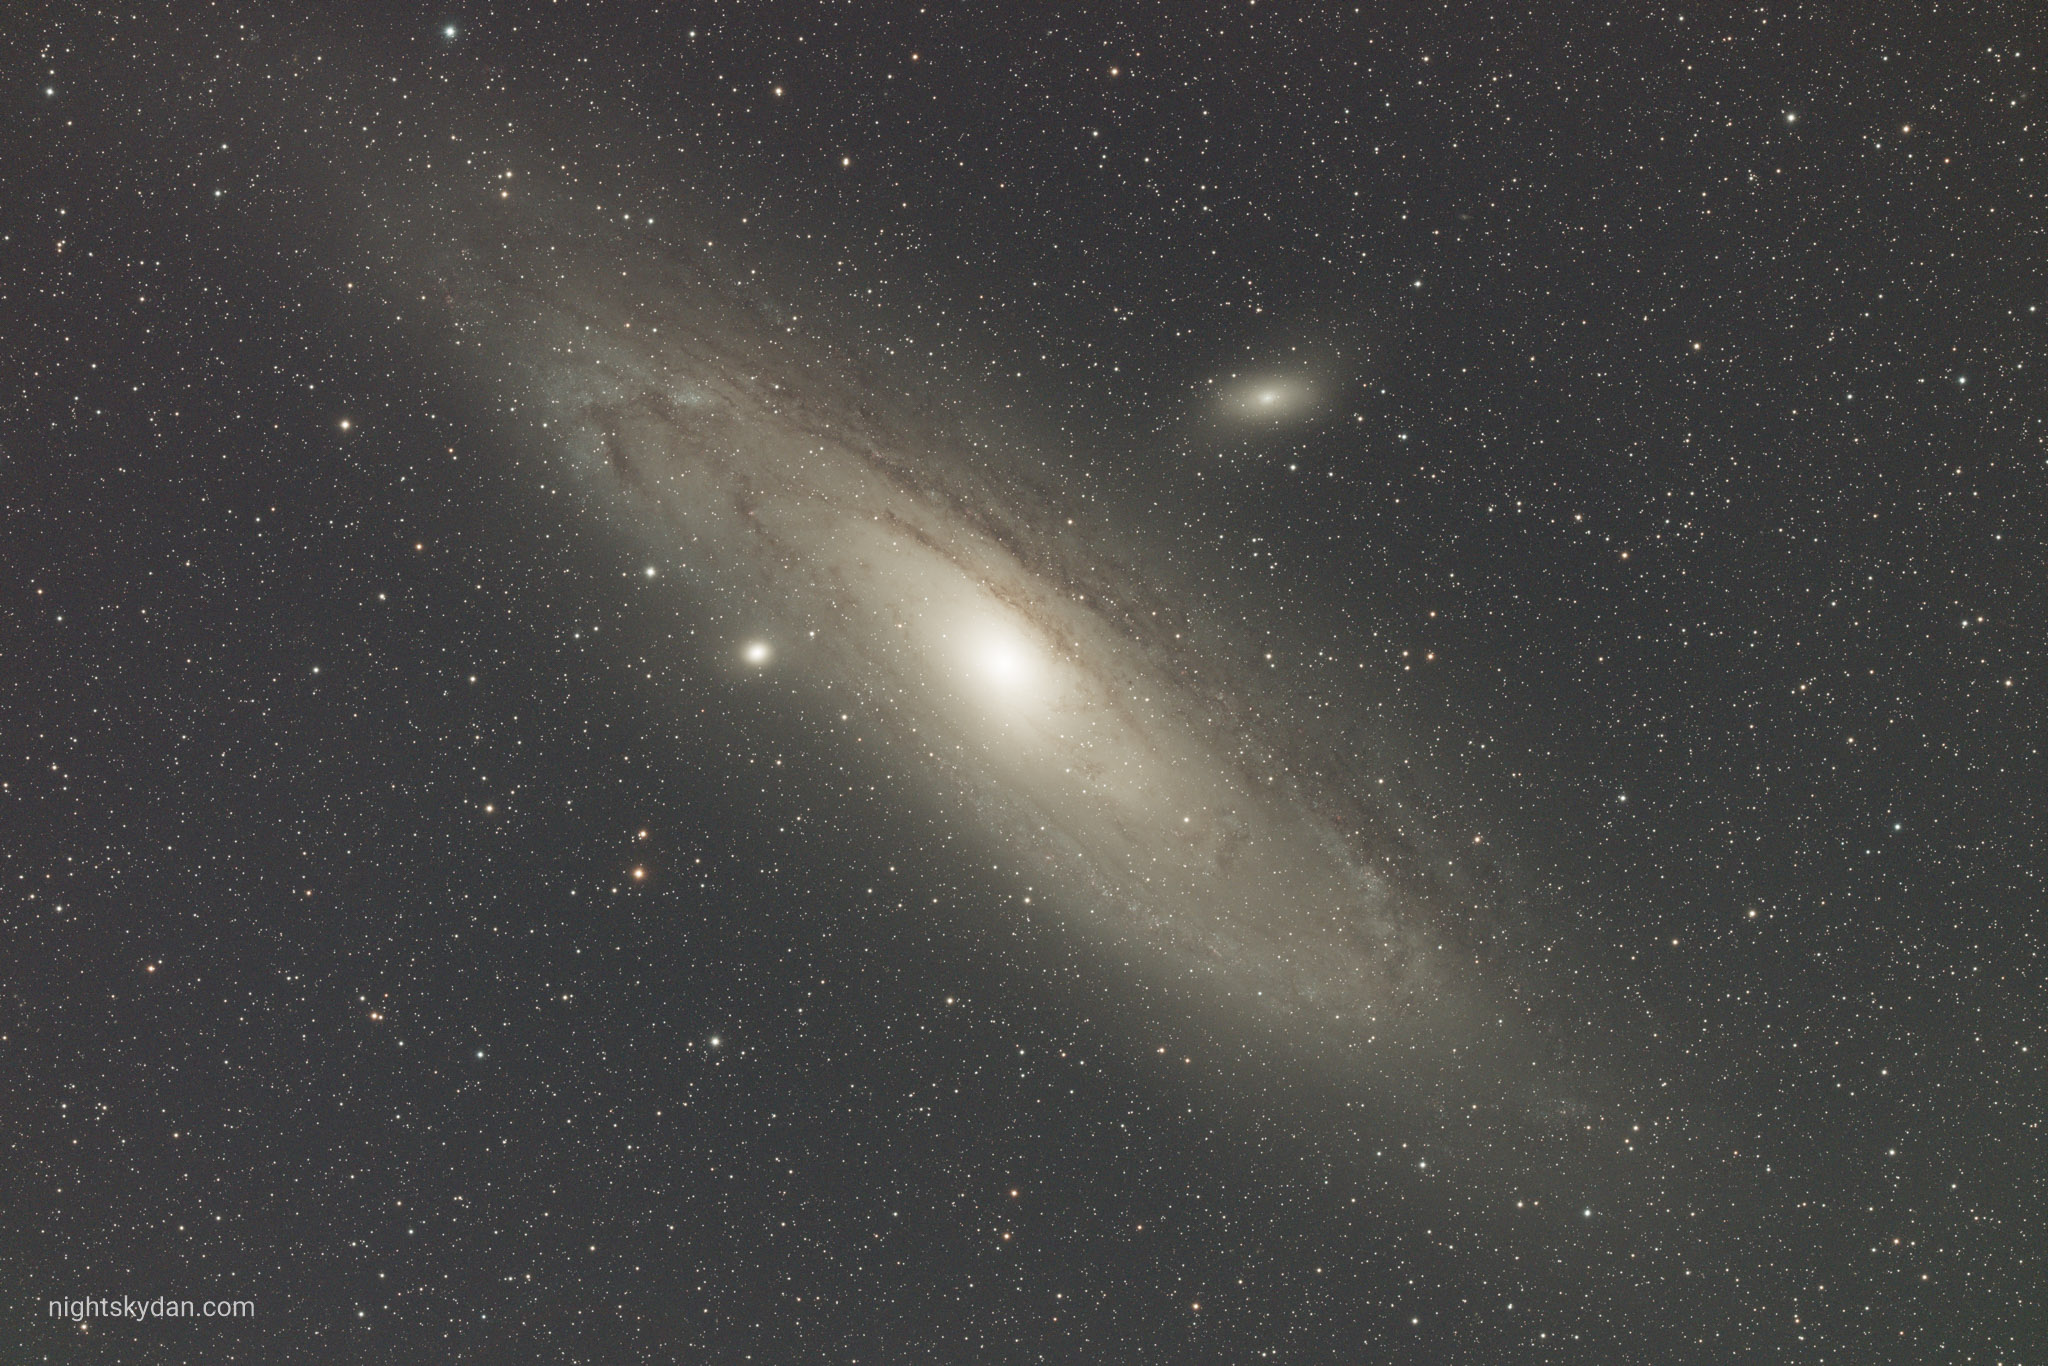
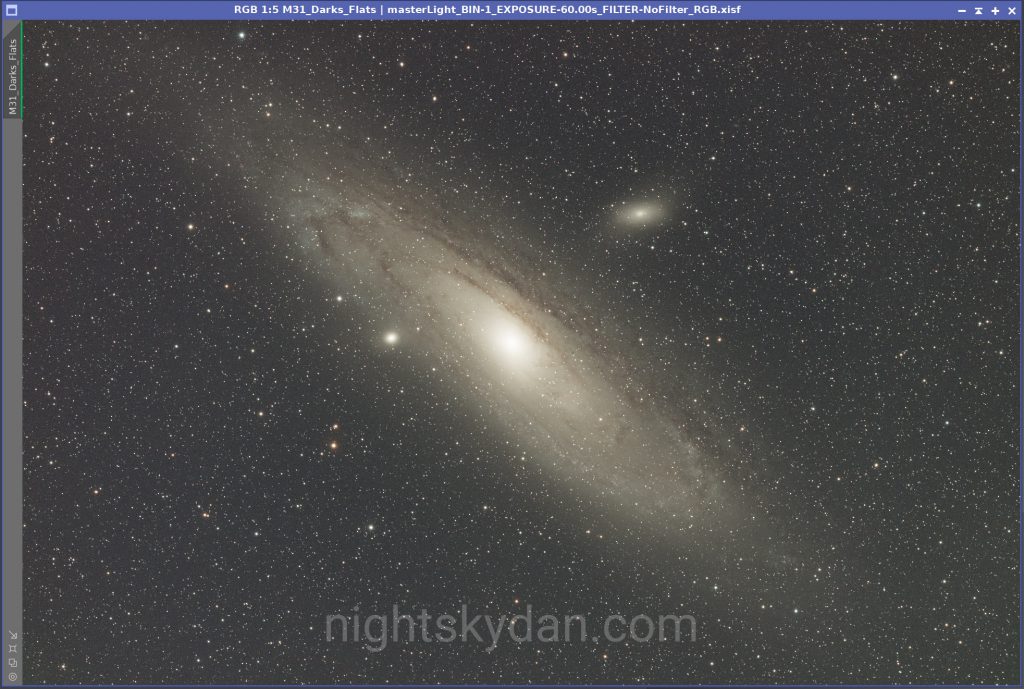
Test #4 – Darks and Flats
In this final test I’ll use both dark frames and flat frames in the calibration of my Andromeda image. PixInsight will stack the 10 light frames and calibrate them using the dark and flat frames. You can see the settings I used by scrolling through the screenshots below.


As expected, this produces a properly calibrated image which has eliminated all signs of vignetting! I can then carry on processing this image in PixInsight much more easily.
Test Comparison
I’ve shown all four images in one view below, so you can see the difference between each of the test results, with the final test (which uses both dark frames and flat frames) in the lower right corner.

Below we can see all four images again, but this time I’ve zoomed in to the upper left corner of each image, so you can see how well the flat frames have helped to correct the vignetting in the final image (in the lower right window).
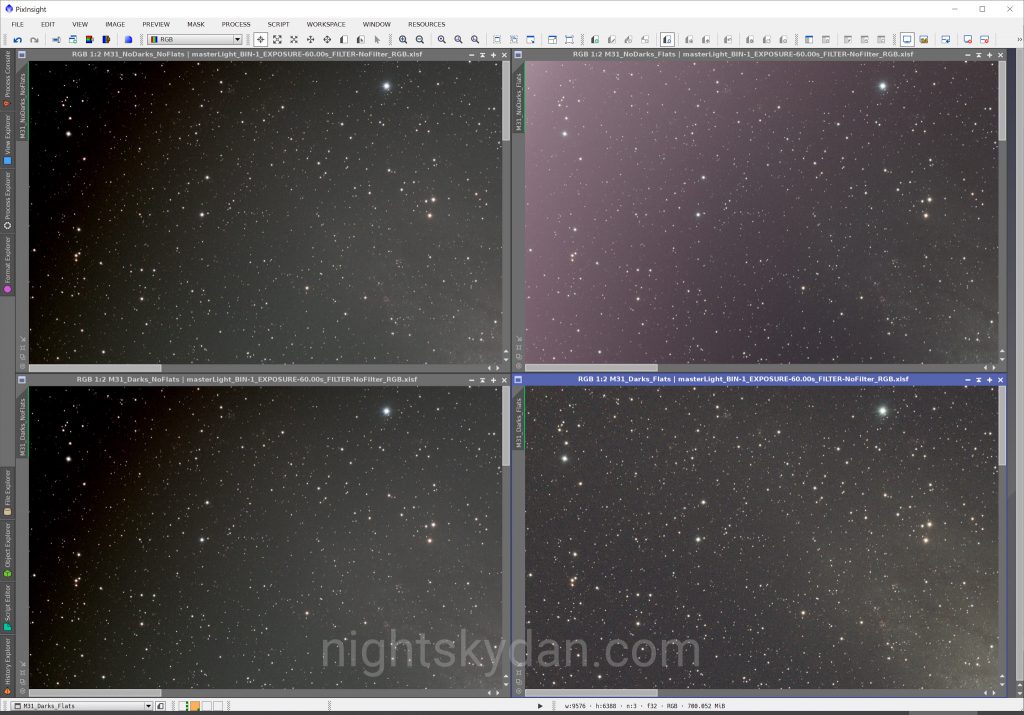
The corner of the final image (in the lower right window) looks perfectly smooth with no obvious signs of vignetting.
Conclusion
As you can see above, using both dark and flat frames in the calibration process has helped to virtually eliminate all signs of vignetting and produces a much more evenly illuminated image. Another benefit is more detail of the galaxy has been brought out, making it easier to process the final image.
Thanks for reading! Please comment below if you have any questions or feedback regarding the processes I’ve outlined above.
I just read your article because I am having a bad bad time with flats. I used to do the tee shirt method but bought myself a lightbox last week. I did all the methods you did all four and was wondering if I can send them to you and maybe figure out what I am doing wrong. Thanks for the information…
Steve
Hi Steve, thanks for reading my article! Feel free to send me a message via the “Contact Me” page on my website, and I’ll reply to it so you have my email address – you can then email me the images.
I wrote a week ago but not sure I sent it right. Wanted to get your advise on imaging problems I am having . I did not get an email back to send you the image
Steve